How to Season Firewood at Home: A Month-by-Month Guide
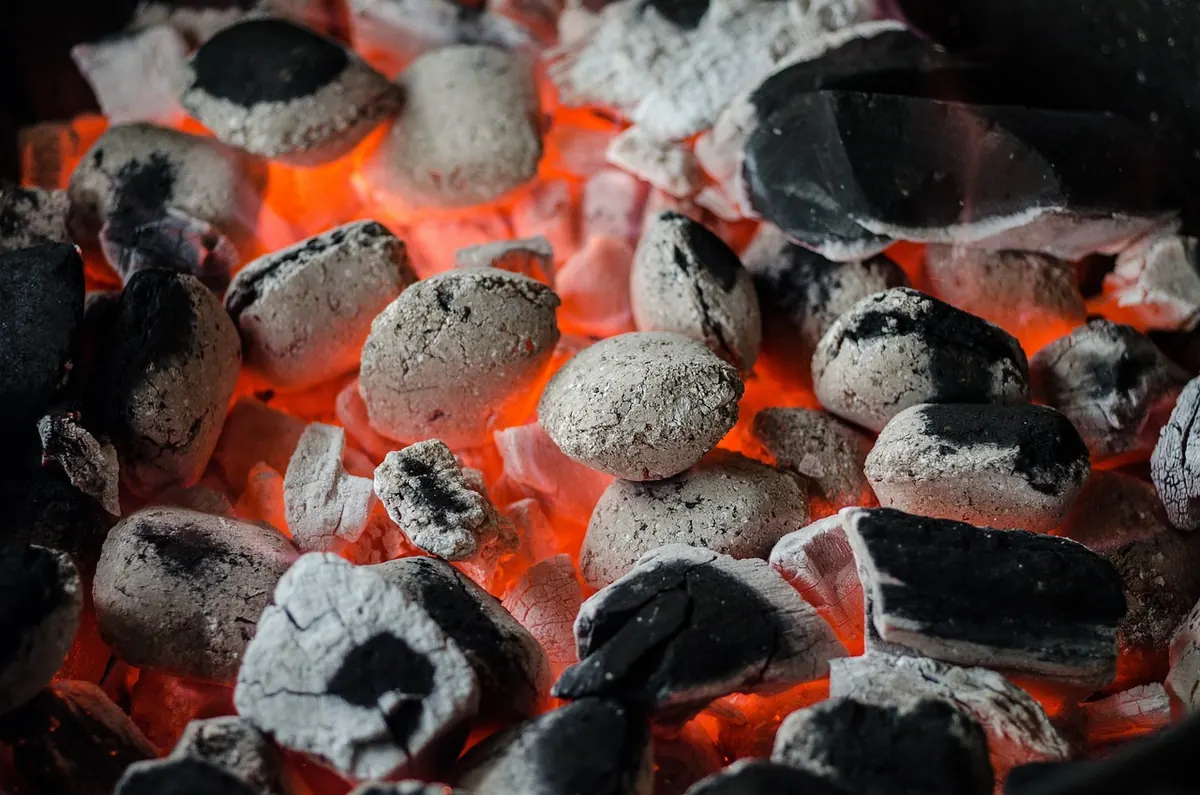
Split a log in January and you will know within seconds whether last year's work paid off. Wet wood hisses, smoulders and coats the stove glass in tar. Dry wood catches quickly, throws real heat and leaves pale, powdery ash. The difference is water, and shifting it takes time, airflow and a little forward planning.
Wood does not season to a calendar so much as a rhythm. In a British climate, where damp air hangs around for weeks, wind does far more drying than sunshine ever will. Here is how to work with the seasons instead of against them.
What "seasoned" really means
Seasoned firewood sits below roughly 20 per cent moisture content, measured on a freshly split face. Properly dry logs land nearer 15 per cent. Freshly felled timber can be double that, and dense hardwoods such as oak often start above 50 per cent.
All that water has to go somewhere, and it takes energy to move it. Burn a wet log and a good share of your heat goes into boiling water rather than warming the room. You also get more smoke, more tar in the flue and a fire that sulks instead of blazing. Creosote build-up inside a chimney is a genuine fire risk, and a damp flue is harder for a sweep to clean properly.
Two sensible housekeeping points. Have your chimney swept by a competent sweep before the season starts, and if you live in a Smoke Control Area, check with your local council about which fuels and appliances you are permitted to use.
Set up the stack properly
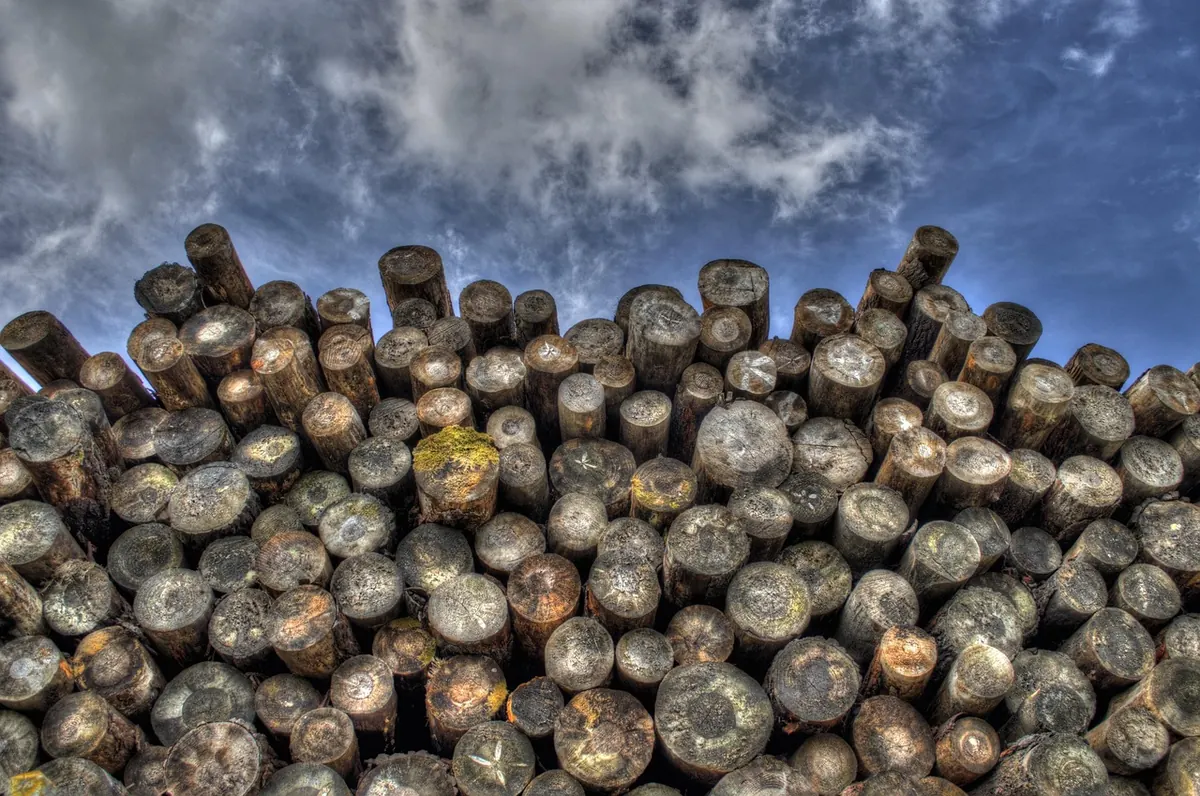
Where and how you stack matters more than how long you leave it. Air has to move through the pile and carry moisture away with it. Get these basics right and you are already ahead:
- Raise the logs off the ground on pallets, bearers or a proper store base. Ground contact wicks damp straight back into the bottom row.
- Site the stack in the sunniest, windiest spot you have. Wind is the drying engine; sun is a welcome bonus.
- Leave a gap between the stack and any wall or fence, a hand's width at least, so air can pass behind it.
- Stack in a single row if space allows. Double rows roughly double the drying time for the inner logs.
- Cover the top only. A cover over the crown keeps rain out; wrapping the sides traps moisture in.
- Cut to length before stacking. Logs of 25–30cm suit most stoves and build stable, neat rows.
Bark up or bark down makes little difference. What counts is that the cut ends face the prevailing wind and air can move through the gaps.
Spring (March to May): split, stack, and think ahead
Split early and stack straight away. Every week the wood spends sitting in a heap on the ground is a week of drying lost. If you cut your own, late winter and early spring is the traditional window: sap is down, the wood is lighter to handle and the drying months are all ahead of it.
Split thick rounds at least once
Bark is a decent raincoat and a poor breathable one. Splitting a log opens the grain and gives moisture somewhere to escape. Quarter large rounds, halve medium ones, and leave small diameter branches whole. You do not need kindling-sized pieces; you need exposed surfaces.
Summer (June to August): the long dry
This is where most of the work gets done, and you do almost none of it. Warm air and a steady breeze pull moisture out of the ends and the split faces. Check the stack a few times over the summer: keep the base clear of weeds and long grass, make sure the top cover has not sagged into a puddle, and confirm the pile has not slumped into a solid mass with no gaps.
Small cracks appearing across the end grain are a good sign, but they are not proof. Surface checking happens long before the middle of a log is dry.
Autumn (September to November): test before you trust
By September you should be testing, not guessing. A moisture meter costs very little and settles arguments faster than any other piece of kit in the shed.
Using a moisture meter properly
- Split a log and test the freshly exposed inner face, not the weathered outside end.
- Push the pins in firmly along the grain, not across it.
- Let the log come up to room temperature first. Cold timber reads lower than it really is.
- Test several logs from different parts of the stack and average your readings.
- Below 20 per cent, burn it. Between 20 and 25, give it more time. Above 25, leave it alone.
Autumn is also the moment to shuffle your stock. Move this winter's wood into the driest, most accessible bay, and if you buy in logs, ordering now gives you far more choice than a panicked call in mid-December.
Winter (December to February): burn well, start again
Bring in a day or two of logs at a time rather than a week's worth. A small basket by the stove warms and finishes them nicely; a mountain of wood indoors just drops bark and dust across the floor.
Burn hot and bright rather than slow and smouldering, which is kinder to the flue. Knock snow off the top of the stack so the cover does not sag, keep fallen leaves away from the base, and if a mild, dry spell turns up, split a few rounds for next year. Anything you stack now gets a full spring and summer ahead of it.
A three-bay system that runs itself
The easiest way to stop chasing dry wood is to work one year ahead. Set up three bays if you have room, or two if you do not, and label them: burning now, drying for next winter, and this year's splitting. Each year, rotate the contents along one bay.
Once that cycle is running, the job becomes something you do in odd half hours rather than a scramble in November. Stack it high, keep the wind moving through it, and test a split log before you commit a basket to the stove. Your flue, your glass and your heating bill will all notice the difference.
Photo: ClickerHappy / Pixabay


You Might Also Like
Burning the wrong fuel in a smoke control area can mean a fine of up to £1,000. Here's how to check the rules and heat your home legally.
A practical, room-by-room fire safety checklist for homes with open fires and log burners, covering alarms, hearth guards, extinguishers, chimney care and safe ash disposal.