Beginner's Guide to Lighting and Running a Wood Burning Stove
A wood burning stove is one of the few home comforts that rewards patience. Light it well and you get a bright, steady heat that warms the room rather than the sky, glass that stays clear and a chimney that stays cleaner. Light it badly and you get smoke in the room, blackened glass and a fire that sulks in the corner. The good news is that the difference between the two comes down to a handful of habits, and most of them take seconds to learn.
What follows is the routine that experienced stove owners fall into: getting the stove ready, lighting it from the top, using the air controls properly, refuelling without smothering the fire, and knowing what a healthy burn looks like.
Before You Strike a Match
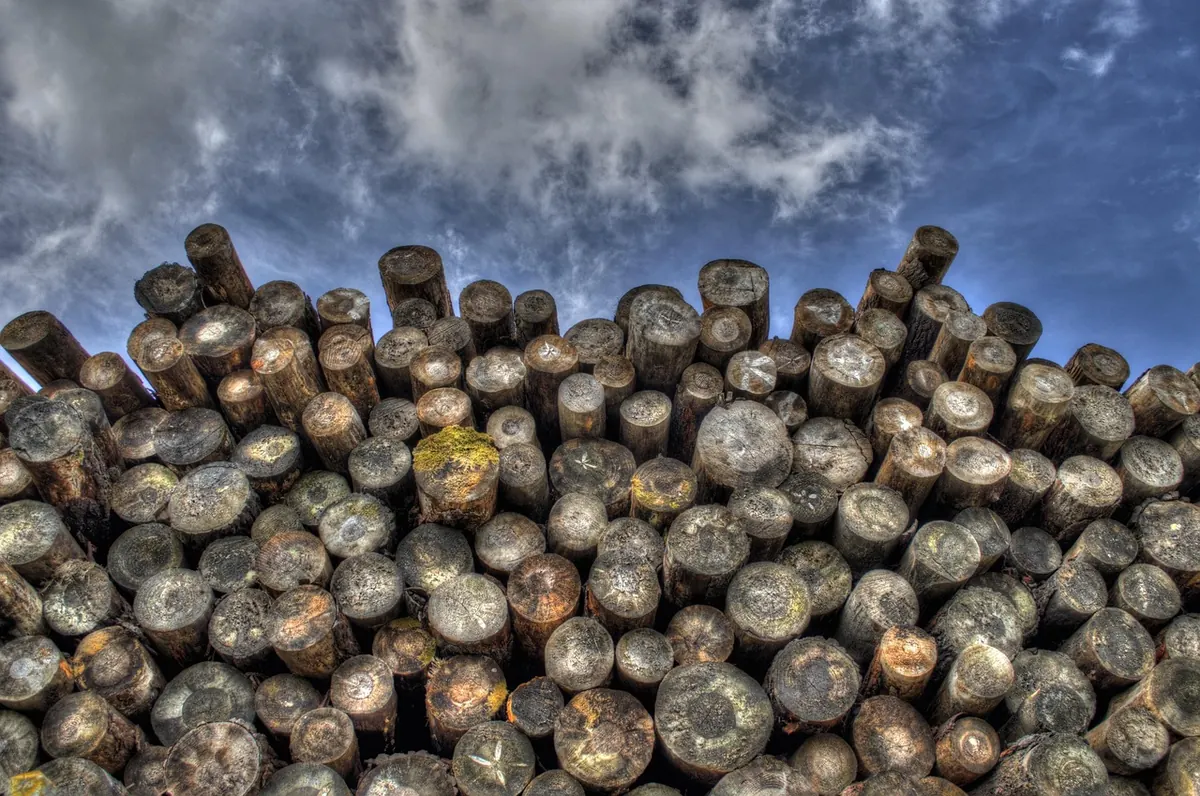
Most disappointing fires are caused by fuel, not technique. Wood needs to be dry. Seasoned logs are generally considered ready at under 20% moisture content, which usually means air-dried for a year or more, or kiln-dried. Split one log and press a moisture meter into the freshly exposed face rather than the end grain for a truer reading. Logs around 10–15cm across burn best in most domestic stoves; anything much thicker takes too long to catch and smoulders.
Next, look at the stove itself. Keep a shallow bed of ash, roughly 1–2cm, on the base — it insulates the fire and helps the embers hold heat. Check that the baffle plate inside the roof of the firebox is sitting correctly and that the door seal feels firm when you close it. If you have a damper in the flue, open it fully. If you have no idea when the chimney was last swept, book a registered sweep before you start burning in earnest.
Have everything within reach before you begin: kindling, natural firelighters, a long lighter or matches, and a pair of heat-resistant gloves. A carbon monoxide alarm in the same room is not optional. Neither is a working smoke alarm.
Lighting the Fire: The Top-Down Method
Top-down lighting looks odd the first time you try it, but it produces far less smoke than the traditional heap of paper at the bottom. The fire burns downwards into the fuel instead of struggling upwards through it.
- Place two or three small split logs on the firebox floor, laid loosely with gaps between them.
- Build a stack of kindling on top of those logs in a criss-cross, roughly the size of a small tower. Leave air gaps.
- Tuck one or two firelighters into the top of the kindling, not the bottom.
- Open the primary and secondary air controls fully, and open any flue damper.
- Light the firelighters and close the door, leaving it just a crack open for a minute if the flue is cold. A cold chimney can push smoke back into the room; if that happens, hold a lit firelighter or a heat gun near the flue opening for a few seconds to start the draught.
- Once the kindling is properly alight, shut the door and let the fire establish for ten to fifteen minutes before adding larger logs.
If you prefer building from the bottom up, that works too. The important thing is not to bury the fire in fuel. Give it air on all sides and let it grow.
Understanding Your Air Controls
This is where new owners lose confidence, and where the biggest gains are made.
Primary air
Usually the control at the bottom, feeding air under the fire. It governs how fiercely the fuel burns and is mainly for starting and reviving. Once the fire is established, most stoves run happily with primary air closed or nearly closed.
Secondary air
Often a lever at the top, feeding air above the fire. This is the one that burns the gases that would otherwise go up the chimney as smoke, and it also feeds the airwash that keeps the glass clear. On many stoves, secondary air should stay open a good way even when the fire is running gently.
Stoves vary, and some have a third control or a single combined lever, so your manual beats any general rule. The principle is simple: a cold stove wants air, a hot stove wants less. Never shut everything down hard for hours on end — that is how tar builds up in the flue.
Refuelling Without Killing the Fire
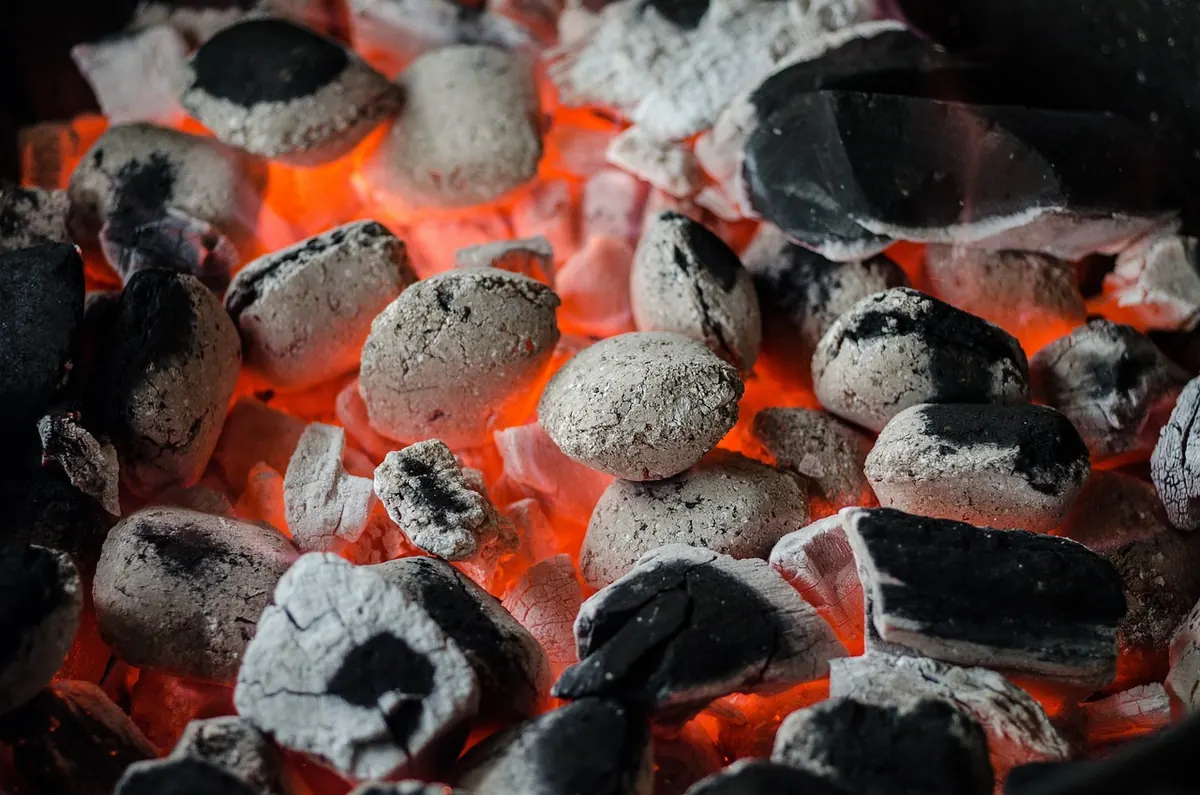
Wait until the previous load has burned down to a glowing bed of embers rather than a wall of flame. Rake the embers flat and slightly forward, which helps the new logs catch. Open the air controls before you touch the door, then open the door slowly, an inch at a time, to let the pressure equalise — this one habit prevents most smoke spillage.
Add two or three logs, placed with gaps and not pressed against the glass. A common mistake is filling the firebox to the top; most stoves prefer a load that takes up a third to half of the firebox, which allows the flames room to breathe. Close the door, leave the air open for a few minutes until the logs are properly alight, then ease the controls back to your normal running position.
What a Clean Burn Looks Like
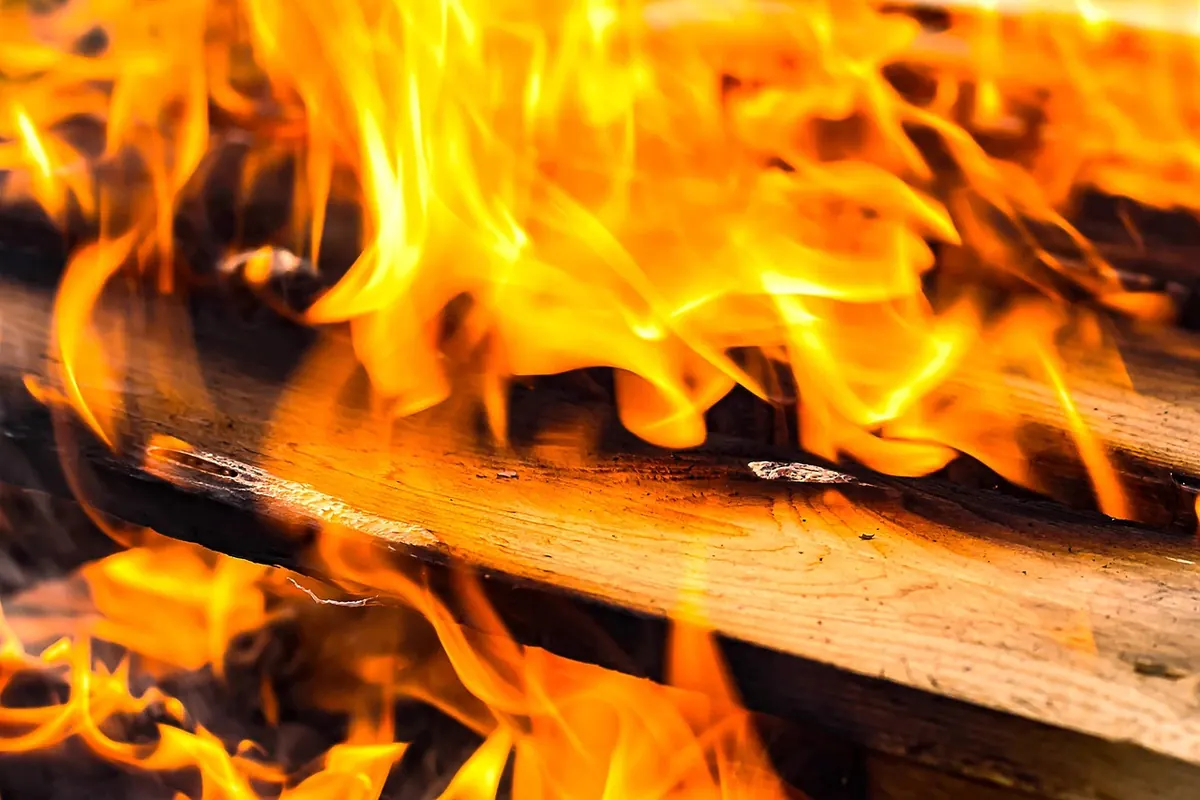
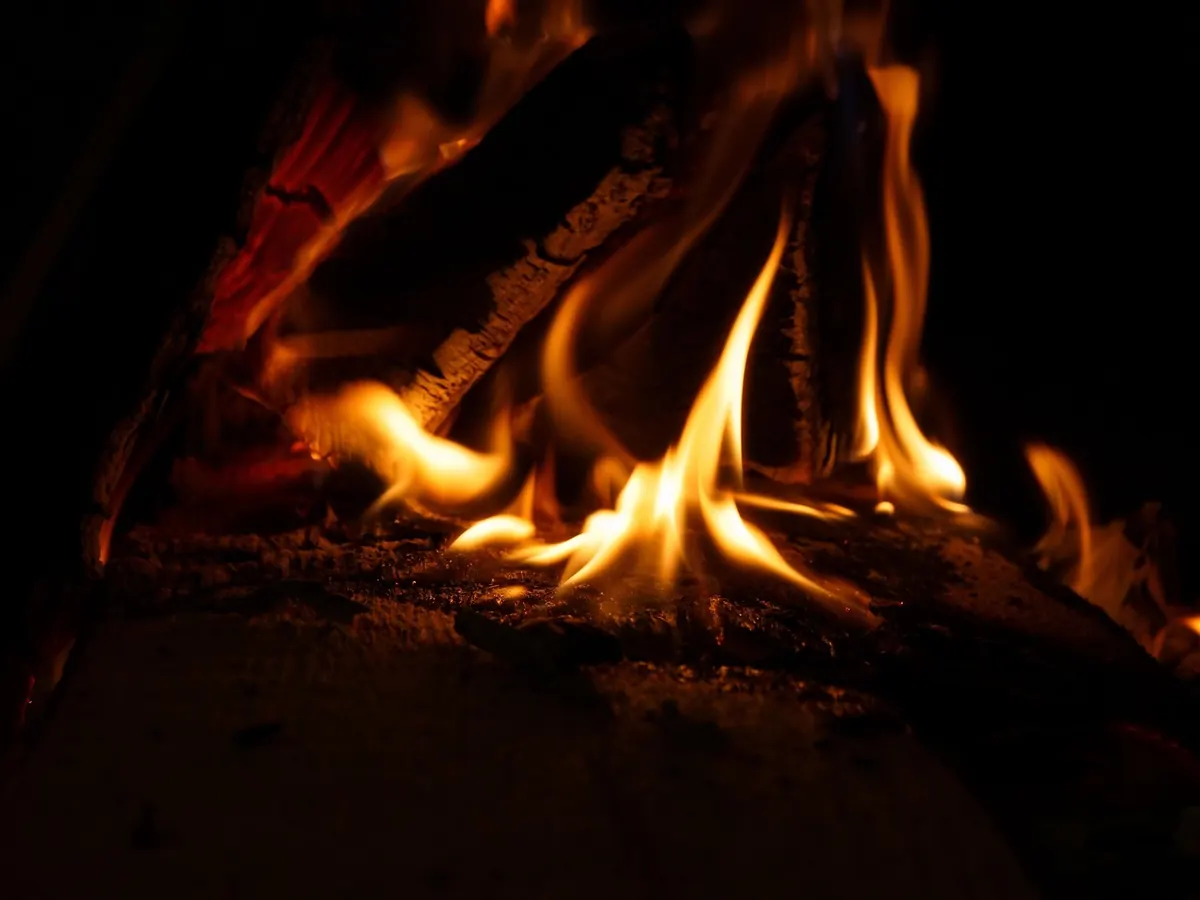
A well-run fire has bright, lively flames and almost no visible smoke from the chimney. If you fit a magnetic flue thermometer to the pipe above the stove, it will usually sit somewhere in the region of 150–250°C during a good burn — hot enough to burn off creosote-forming deposits, cool enough not to waste heat up the chimney. Treat that range as a rough guide and your stove's manual as the authority.
Warning signs are easy to spot once you know them: blackened glass, a lazy smouldering fire, dark smoke from the chimney, or a flue thermometer sitting low. That combination almost always means wet wood, too little air, or too large a load. Small, hot, frequent fires burn far cleaner than one long damped-down smoulder, which is why overnight burning turned right down is one of the main causes of chimney tar.
What to Burn, and Where You Can Burn It
- Good: seasoned or kiln-dried hardwood such as ash, oak, beech or birch; dry softwood, which burns hot and fast and is fine for getting a fire going.
- Poor: unseasoned or "green" wood, damp logs stored outdoors without cover, oversized logs.
- Avoid: treated, painted or varnished timber, driftwood, household rubbish, glossy printed paper, and coal unless your stove is designed for solid fuel.
Check whether you live in a smoke control area. Many towns and cities in the UK are covered, and in those areas you must burn authorised fuels or use an exempt appliance. Your local council can confirm your status, and it is worth knowing before a neighbour reports smoke rather than afterwards.
A Simple Routine That Keeps You Warm and Safe
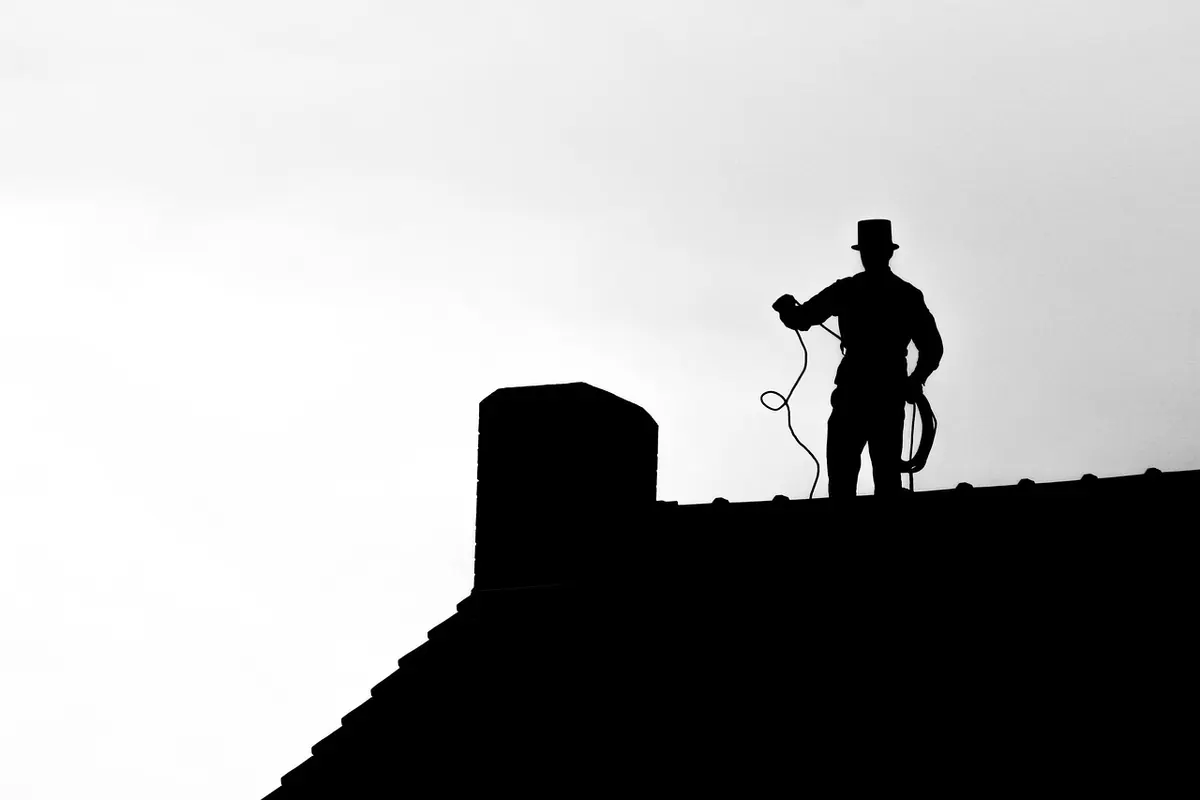
Have the chimney swept at least once a year by a registered sweep, ideally before the season starts, and more often if you burn a lot of softwood or run the stove low. Replace worn door rope and glass seals when they stop gripping, and test your carbon monoxide alarm regularly. Empty ash when it builds up, but leave that thin insulating layer behind. Store wood somewhere with airflow, not wrapped in plastic against a wall.
If you are unsure about the condition of your chimney, your installation or your burning habits, ask a qualified stove installer or sweep to look at it — that advice is worth far more than any guesswork. If a carbon monoxide alarm ever sounds, get fresh air, leave the building and seek medical help.
Get the basics right and a wood stove stops being a chore. You will recognise the sound of a stove running well: a quiet, steady draw, a bright fire visible through clean glass, and warmth that lingers long after the last log has settled into embers.
Photo: juphotography / Pixabay
You Might Also Like
Burning the wrong fuel in a smoke control area can mean a fine of up to £1,000. Here's how to check the rules and heat your home legally.
A practical, room-by-room fire safety checklist for homes with open fires and log burners, covering alarms, hearth guards, extinguishers, chimney care and safe ash disposal.